Presets On Lightroom Will Do The Editing Work For You & Make Your Grid Gorgeous
Editing photos is a lot of work, and I'm grateful for all the assistance I can get. Sometimes, I'll ask my photographer friends to help me out before I post on Instagram — and other times, I'll choose a filter and call it a day. If you're anything like me, you'll be happy to discover the gorgeous (and easy-to-use) Presets on Adobe Lightroom. What are Lightroom 2018 Presets, you ask? They're basically pre-made filters that do all the editing work for you. Once you learn how to use them, you won't need to ask your photo-savvy friends for help anymore.
Lightroom's Presets are a lot like Instagram filters, but there are more options to choose from. Each one will automatically edit your photo, leaving you with a gorgeous picture that's totally Insta-worthy. Not only will a Preset adjust the color scheme of your pic, but it will also alter the contrast, brightness, and sharpness of it. Of course, the features of each Preset are dependent on which option you choose, and the selections within Lightroom are endless. Whether you're trying to make a photo brighter, darker, warmer, or cooler, there's a Lightroom Preset waiting for you.
For reference, here's where you can find the Preset button while you're inside Adobe Lightroom:
Now that you know what Presets do and where you can find them, let's talk about all of the cool options you can choose from while you're editing a photo. There are a lot, so bear with me.
Unlike other photo-editing apps, Lightroom gives users a selection of categories to choose Presets from. There are seven categories total, which include Color, Creative, B&W, Curve, Grain, Sharpening, and Vignetting. To access them, click on the Presets button (as shown above).
Once you click on the Presets button, you'll see this list of categories:
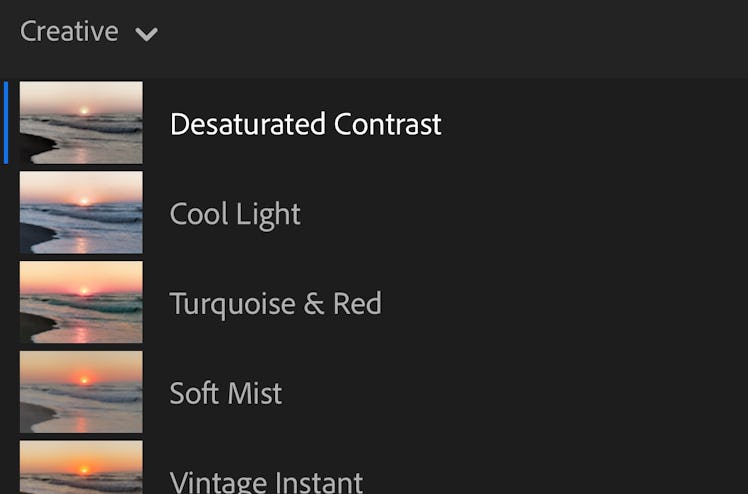
As you can see, each category includes a select number of Presets that are relevant to the group theme. For instance, the "Color" group has six Presets inside of it, while the "Creative" one has 10. Based off Lightroom's selections, there are 43 total Presets that you can choose from while editing a photo. (As an extremely indecisive person, I'm kind of overwhelmed.)
Let's dive a little deeper. If I wanted to make my sunset picture a little warmer, I would go to the "Creative" category and choose the Warm Shadows Preset. By doing so, Lightroom would adjust my entire photo accordingly, leaving me with no extra editing work.
It's as simple as that, ya'll. Let your Presets take the lead.
After choosing a Preset for your photo, there isn't much left you'll need to do with it. Of course, Lightroom offers further editing options that will let you adjust the picture even more, which include Light, Color, Effects, Detail, Geometry, and Optics. These editing options can be found at the bottom of your screen while you're in Lightroom.
As someone who would rather leave photo editing to the app, I'm a big fan of Presets. Instead adjusting the color, light, and sharpness by hand, it's easy to let the Presets edit your photo for you. If you're willing to give it a try, download Adobe Lightroom onto your iOS or Android phone. Your followers will thank you.